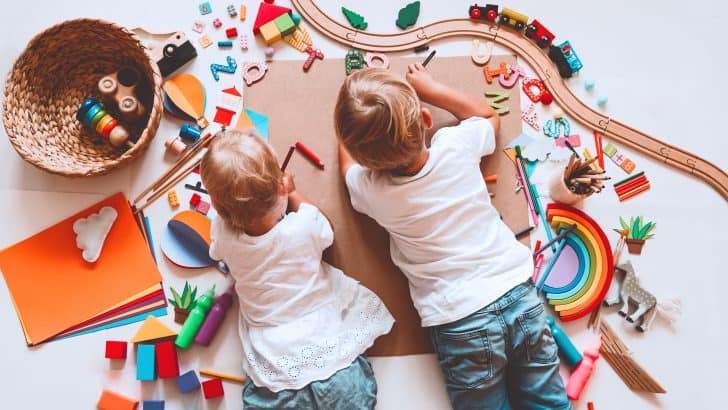
The Montessori method of teaching is a popular approach to education built around the idea that children have the disposition to explore the world independently. Parents, however, have to provide opportunities and resources – such as Montessori DIY toys.
In a Montessori classroom, children learn in a well-structured environment. They engage in interactive and educational play. Teachers and parents, however, are responsible for providing an experience-rich environment in which children can safely grow and develop.
The Montessori method of education only works with parental involvement. That means that the learning doesn’t stop when your child comes home. Instead, you provide your children with opportunities to develop at home by including various activities and toys.
Montessori DIY toys are easy to make and – depending on the toy in question – can help improve your child’s problem-solving skills, cultivate their creativity and develop their fine motor skills. However, the question still stands: what are the best Montessori toys?
Before we can start exploring materials, tools and toy ideas, we have to understand the key principles and values of Montessori education. Comprehending the importance of hands-on learning further clarifies the purpose of Montessori DIY toys in child development.
The Key Principles of Montessori Education
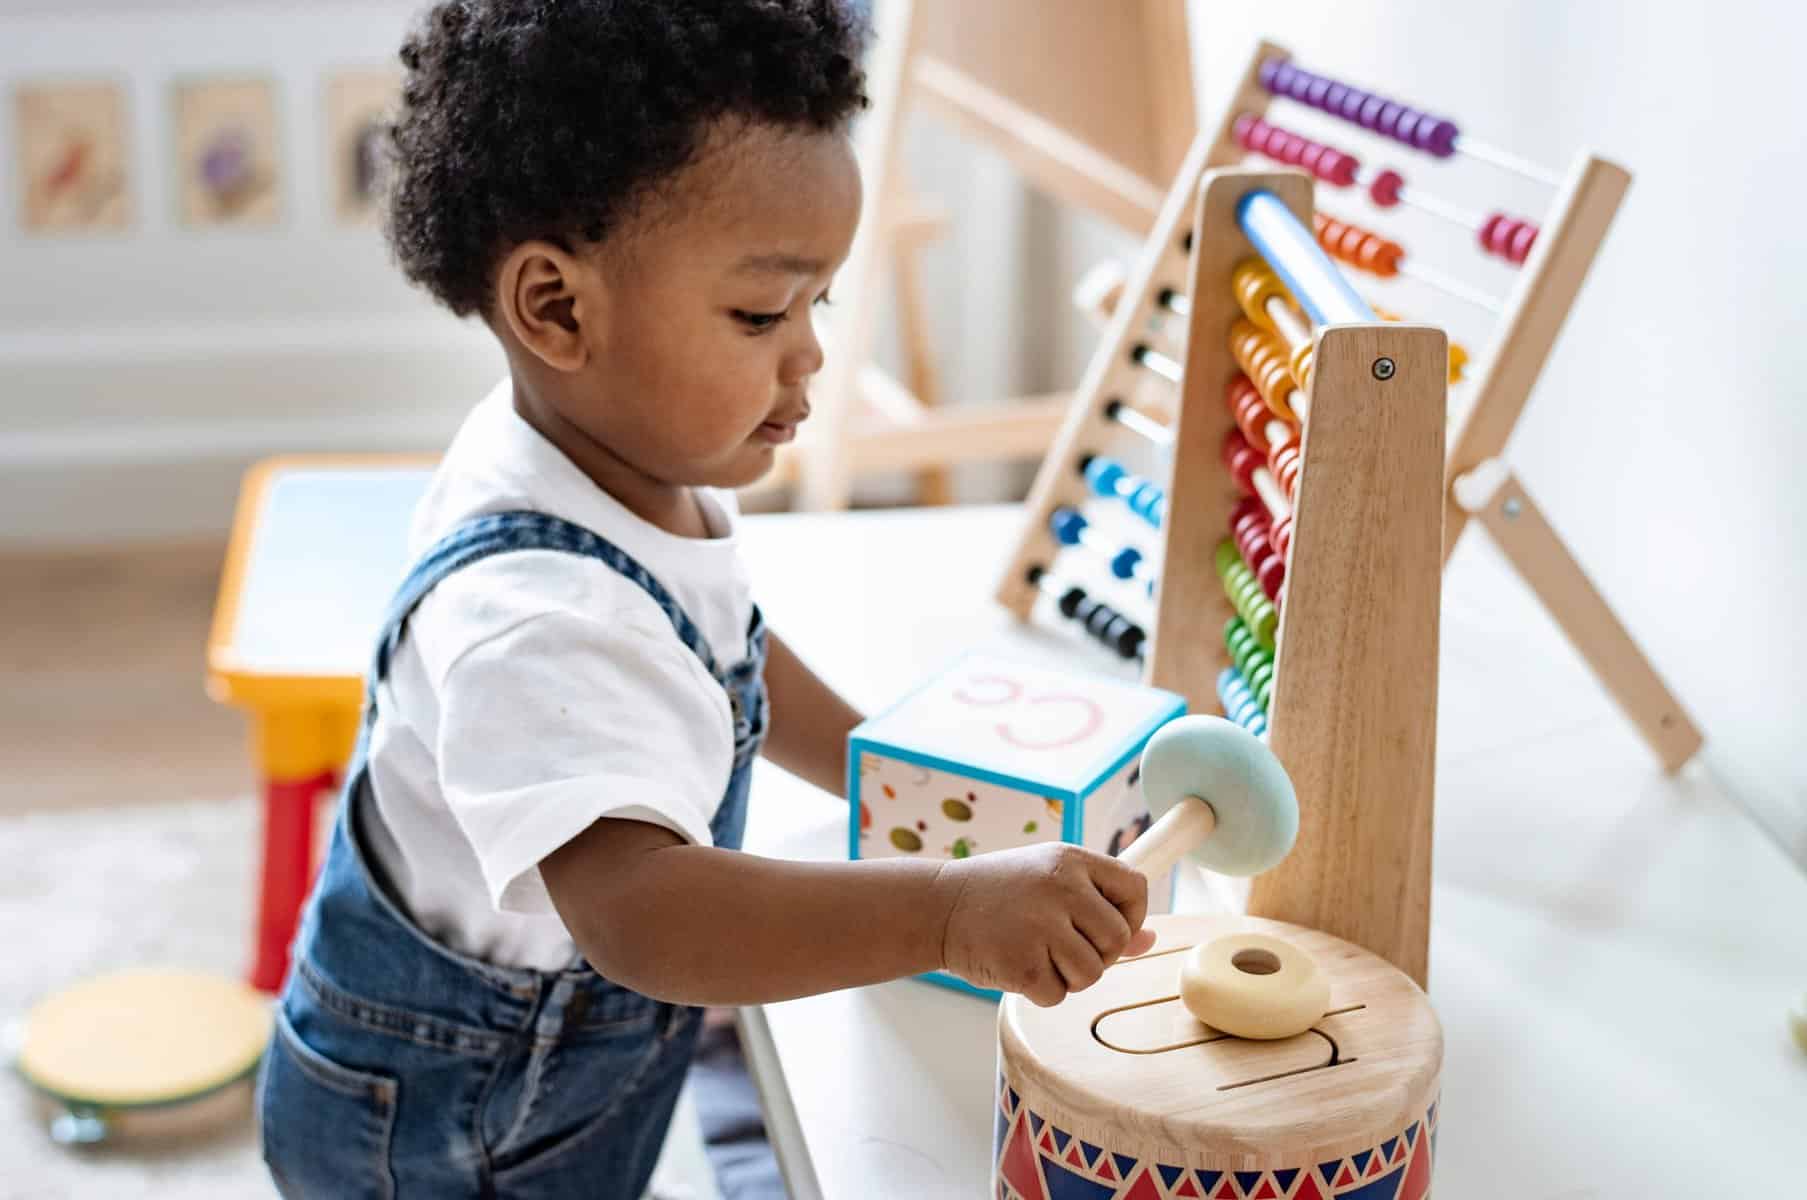
Developed by Dr. Maria Montessori, the Montessori educational method is focused on the idea that babies and toddlers have an innate desire to learn. Therefore, the teacher is responsible for creating a sensory-rich environment to compliment their curiosity.
In a Montessori classroom, the following principles are in effect:
- The teacher provides hands-on learning opportunities.
- The teacher observes and monitors children development closely.
- The teacher focuses on the individual needs and abilities of each child.
The Montessori method of education works efficiently only if the children have access to fun and engaging materials. From learning to read to developing social skills, the use of Montessori materials – such as Montessori DIY toys – is essential for the method to work.
But, aren’t toys just toys? What exactly makes a toy, a Montessori toy? The materials used for hands-on learning focus on the process of discovery. Therefore, children are provided with engaging toys which are not meant to distract them, but to stimulate their curiosity.
As mentioned previously, this educational approach requires parental involvement.
Parents have to create a Montessori learning environment inside their home, as well. That implies providing adequate and age-appropriate Montessori toys, among other materials.
While Montessori toys can be purchased, making them yourself is a cost-effective alternative. Besides, making toys yourself gives you more room for personalization.
Because you know your child best, you can craft Montessori DIY toys that are perfectly tailored to the needs and interests of your child, as opposed to purchasing pre-made toys which may not suit your child as efficiently. Plus, you can make them eco-friendly.
All things considered, parents looking to provide their children with an engaging learning environment at home have to understand the idea behind the Montessori method, since every Montessori material is made purposefully to support the educational approach.
The Benefits of Montessori DIY Toys
Montessori toys for babies and toddlers are a great way to introduce the key principles of the Montessori method to your home. But, why bother making toys when you can simply buy them? Well, creating toys from scratch provides a range of benefits for your kids.
Besides, there’s something undeniably rewarding about making things yourself. Not to mention that you can include your toddler in the toy-making process. Just make sure that you’re taking all the necessary safety precautions in order to avoid accidental injuries.
The best advantage of making your own Montessori toys for babies and toddlers is the fact that it’s cost-effective. Many baby and toddler toys can be expensive. By doing it yourself, you have control over the materials used, which allows you to save a few bucks.
The best Montessori toys are custom-made and personalized.
When you’re making homemade Montessori toys for babies and toddlers, you can tailor them to fit your child’s specific interests and needs. What does your little one love? You can have fun with patterns, colors and shapes without compromising the toy’s purpose.
However, bear in mind that the point of Montessori DIY toys is not to look cute. Yes, it’s essential that you come up with a nice design that properly stimulates curiosity, but you have to keep the underlying purpose of the toy in mind. What is the toy intended for?
When you’re making a toy yourself, keep in mind that the design has to be interactive. We’re talking about hands-on learning, after all. The overall appearance matters, but you also have to take into consideration what kind of opportunities your creation provides.
Does it improve your child’s problem-solving skills or help develop confidence? The fundamental idea behind it should always go hand-in-hand with the design of the toy.
Finally, when you decide to make your own Montessori toys for babies and toddlers, the best part about it is that it’s a wonderful way to spend quality time with your child. So, don’t hesitate to include them in the project. Make fun and lasting memories together.
Here’s a summary of all the benefits:
- Making toys on your own is cost-effective.
- You can reduce waste with an eco-friendly option.
- It’s always fun to personalize your projects.
- DIY toys are great for cultivating creativity.
- They promote hands-on learning.
- It allows you to spend quality time with your child.
With all these benefits in mind – what’s stopping you from making your own Montessori toys for babies? It doesn’t matter if you’re a seasoned crafter or if you’re just starting out, making your own toys from scratch is a rewarding experience for parents and children.
Some projects are more complex than others, but there’s a guide and a how-to for anything you decide to make. Just make sure to follow instructions and remember to enjoy yourself.
What Kind of Materials Do You Need?
The materials you use to create DIY Montessori toys vary. It depends on what you want to make. Regardless, you will need the right materials to do a good job. Before we start exploring toys for toddlers and babies, let’s review the most popular materials used.
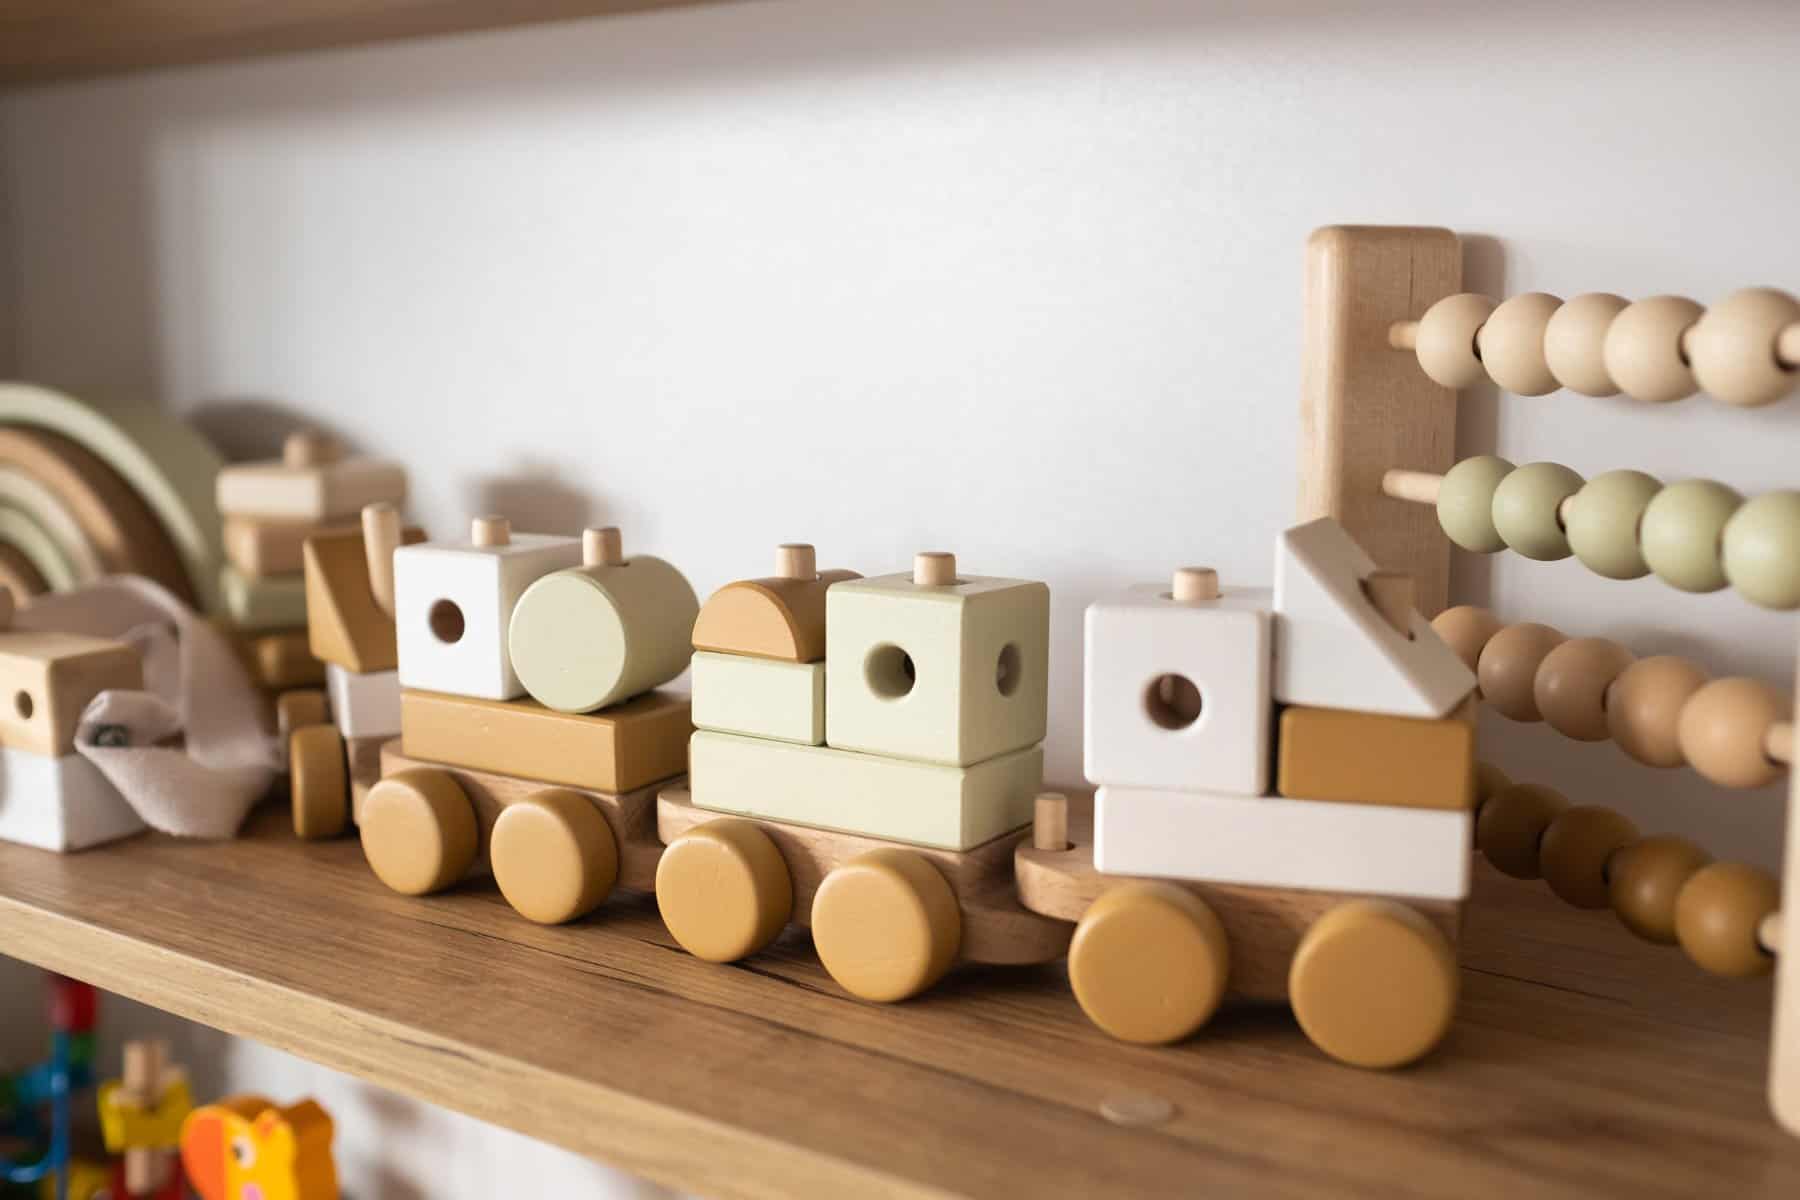
- Wood
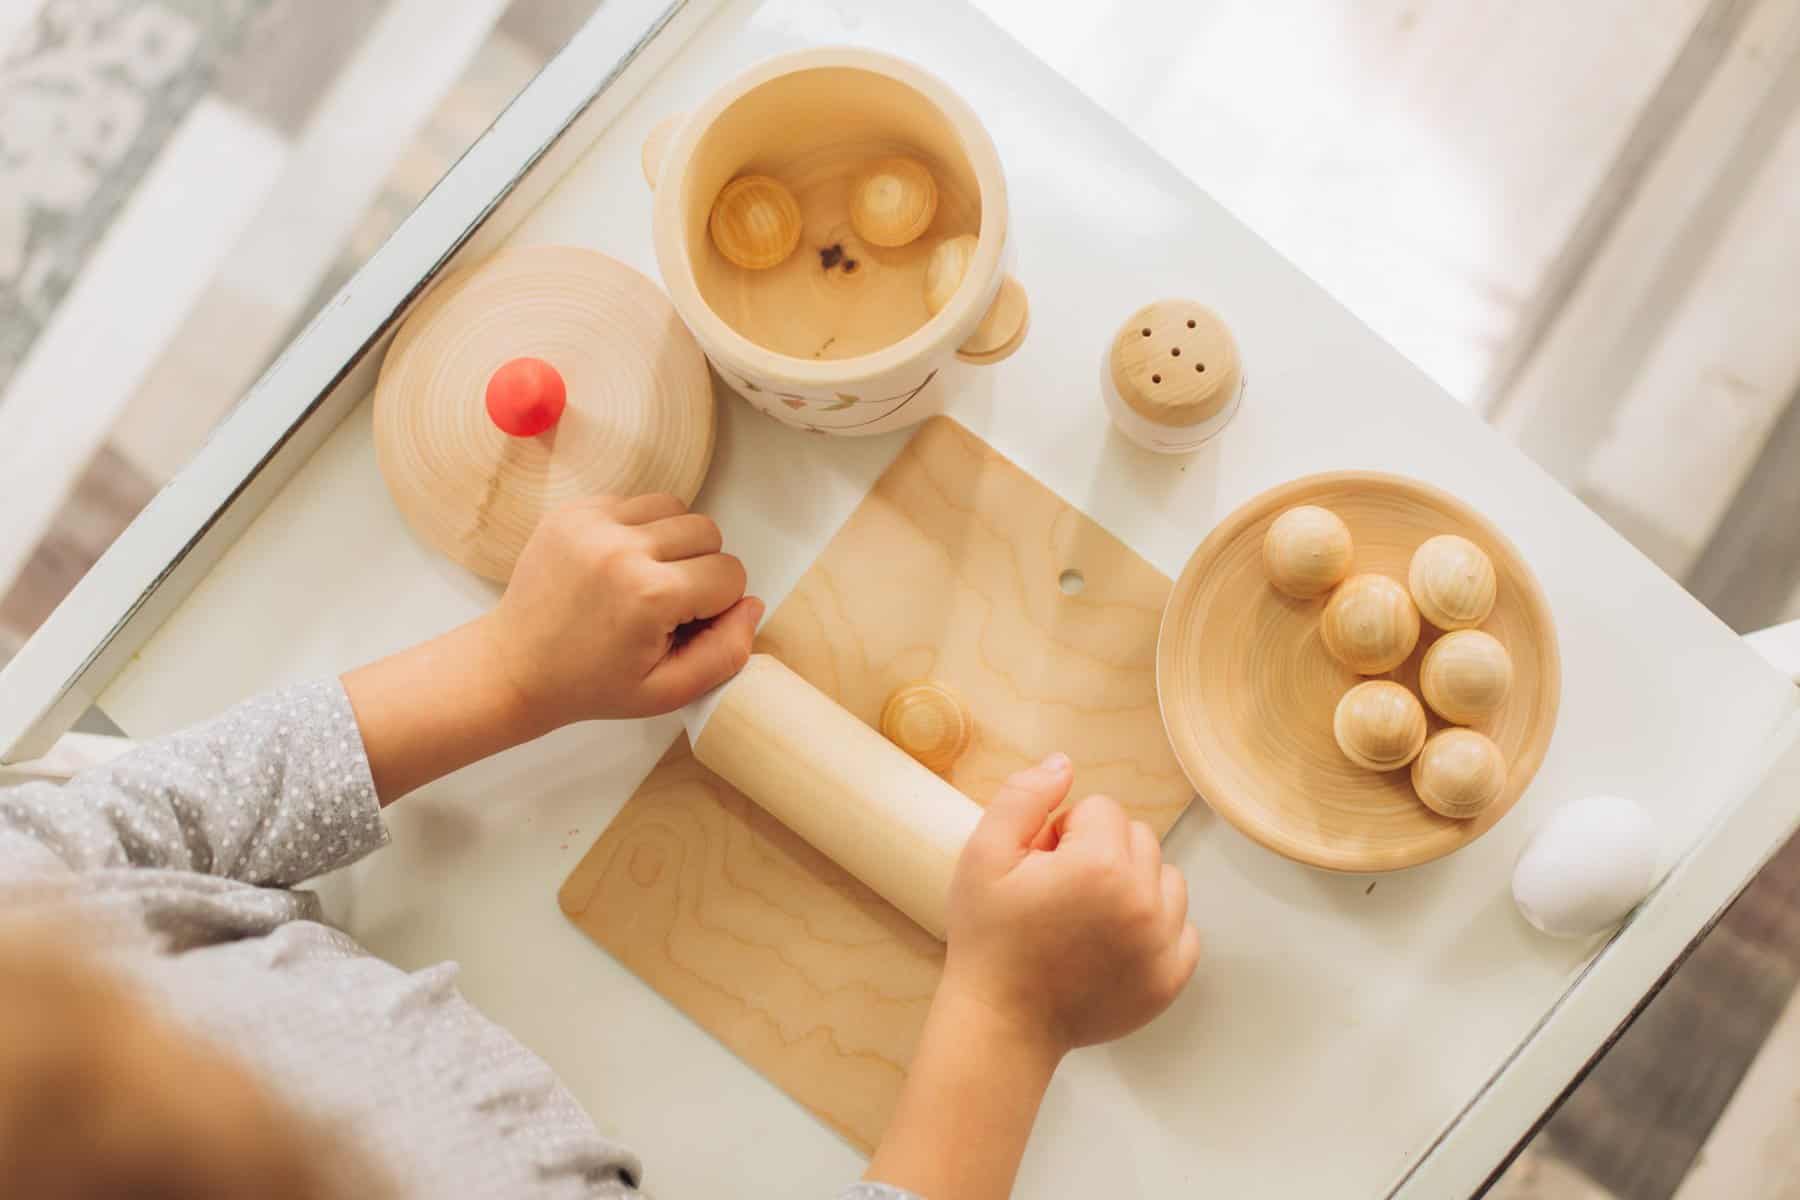
Practically a symbol of Montessori toys for babies and young children, wood is a versatile material often used in DIY projects. However, making wooden toys requires appropriate tools. Bear in mind that woodworking is usually tool-intensive and space-intensive.
Still, you can sand, paint, cut and drill wood to create a wide range of different shapes. If you’re new to the DIY world, we advise starting by building wooden blocks and slowly working your way up to more complex projects, such as a wooden box or an animal.
Wood is the basis of many Montessori DIY toys since it’s natural and sustainable. The most commonly used types of wood include maple, birch, oak, bamboo and walnut. On the other hand, make sure to avoid mahogany and butternut when making toys for kids.
- Fabric
Fabric is a soft, lightweight and flexible material used in all sorts of crafts. However, the first thing that comes to mind is likely a stuffed animal. Now, while stuffed animals aren’t generally considered to be Montessori, a plushy can still be your child’s trusty companion.
Aside from stuffed animals, fabric is used to create sensory bags, sensory balls and even fabric boards. If you’re using fabrics to make DIY Montessori toys for babies and young children, you want to ensure that you choose non-toxic options that are safe for kids.
The ideal Montessori fabrics you can rely on are organic cotton and natural wool.
- Paper
Many Montessori toys for babies include paper. An easy-to-use, multi-purpose material, paper can be manipulated in fun and creative ways for a variety of projects. Before using paper in your crafts, it’s important that you select an acid-free and high-quality option.
The paper has to be strong, flexible and able to withstand a bit of wear and tear. For example, cardstock paper and construction paper are resilient enough to guarantee longer use. Paper may seem bland, but you can spice it up with other fun materials.
Paper is most commonly used to make puzzles, flashcards, paper rolls and busy boards.
- Other materials
Aside from wood, fabric and paper, the materials most commonly encountered in Montessori DIY projects include pipe cleaners, ribbons, beads, buttons and cardboard.
Best Montessori Toys for Children
Now we get to the good part. You’re ready to explore ideas.
You have familiarized yourself with the key principles of the Montessori method, the benefits of creating toys on your own and the materials you need. It’s time to surprise your kids with a DIY project as you set out to create creative and engaging toys.
Our suggestions and ideas will help you get started on the right foot.
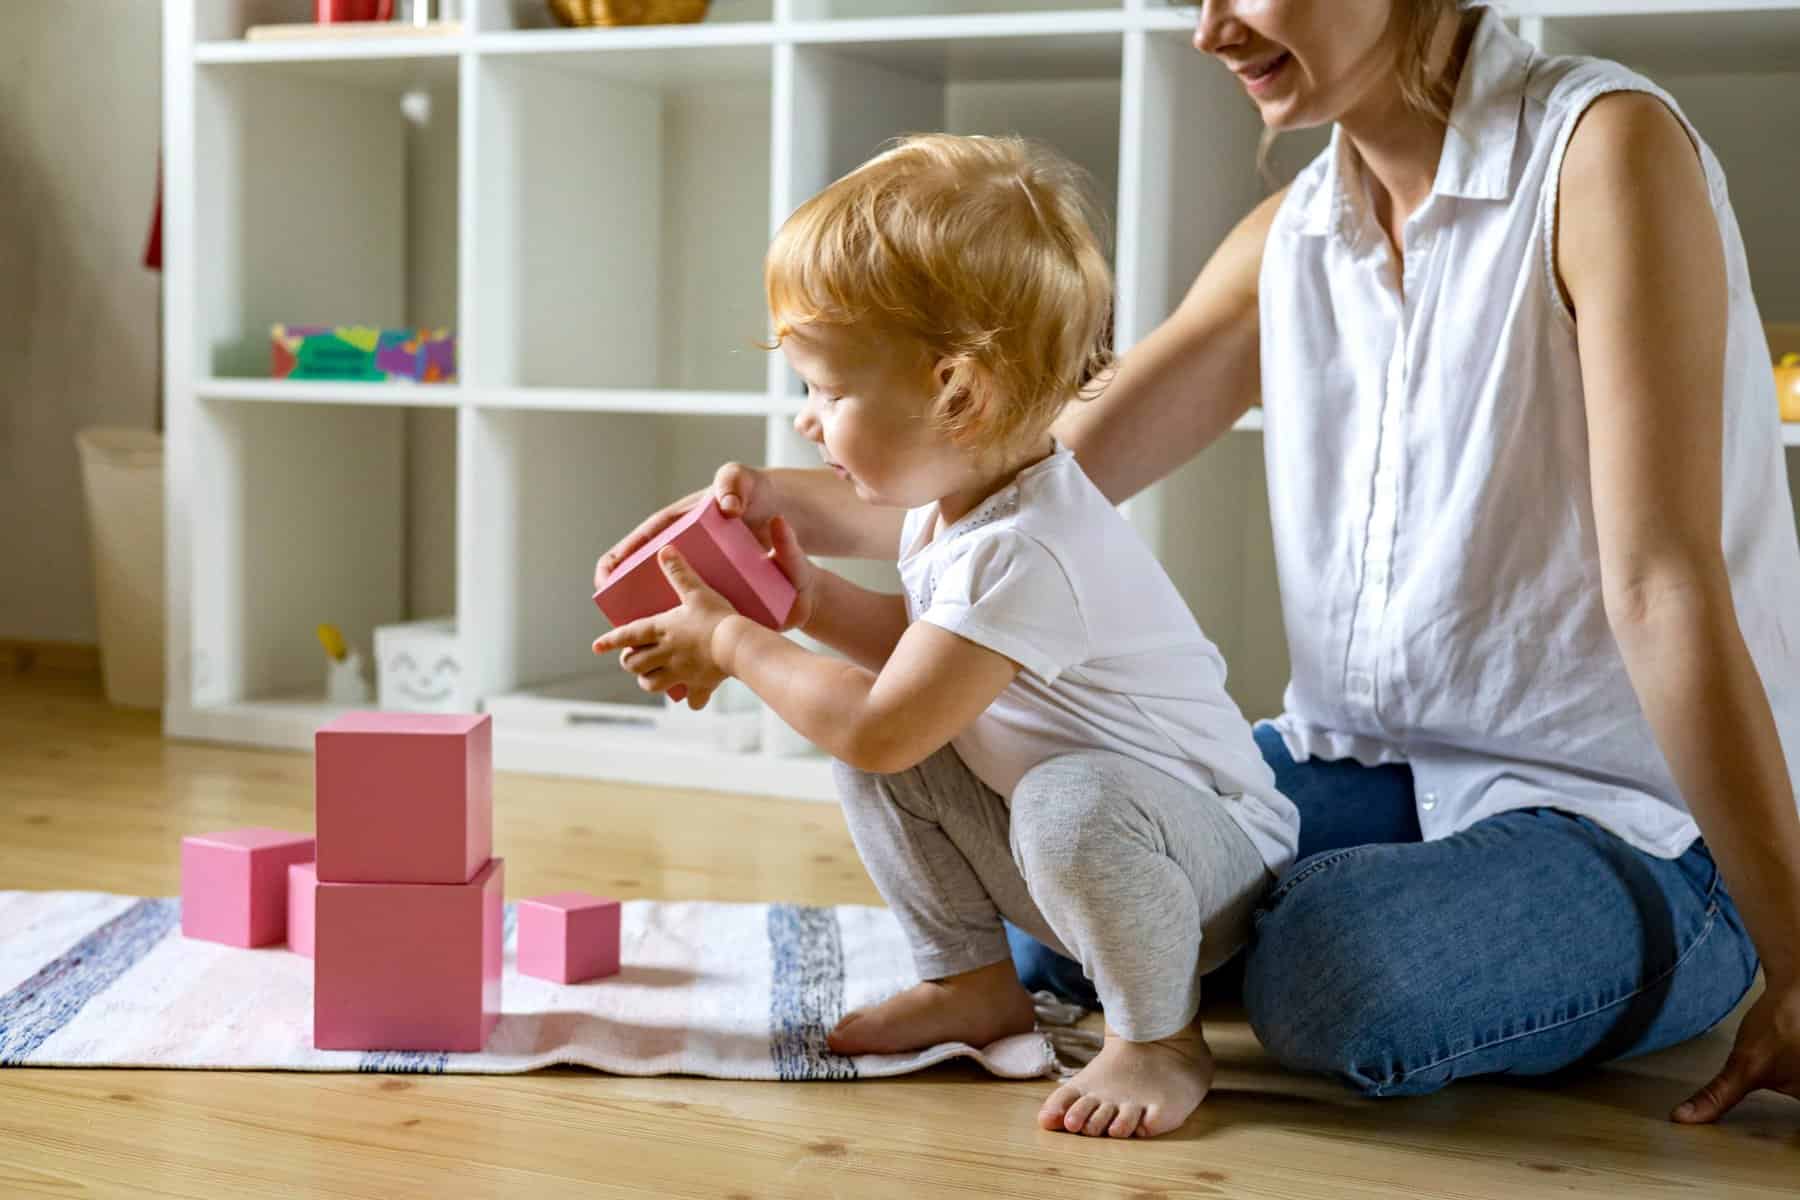
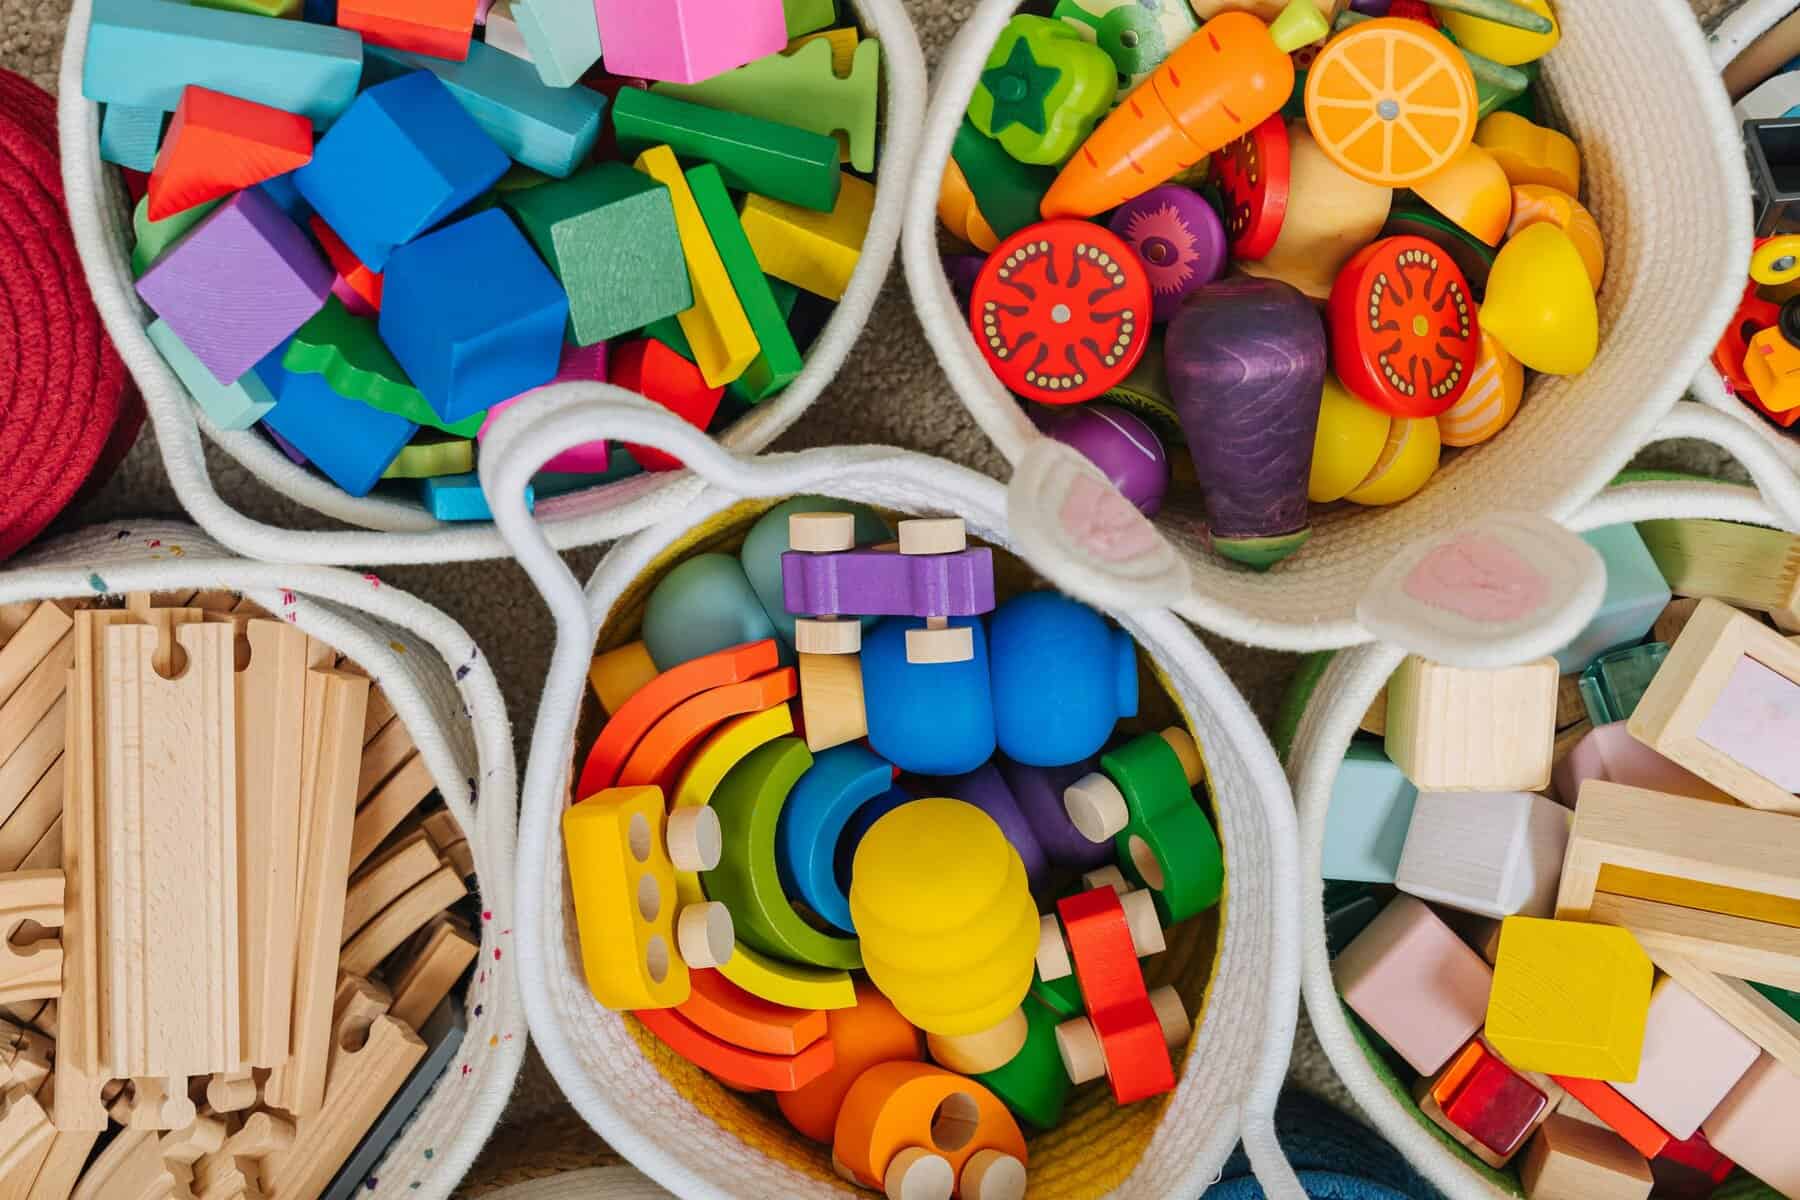
1. Blocks
Block play is timeless. In fact, it’s an essential activity for every developing toddler. It combines educational purpose and interactivity to the point of perfection. More than that, making them on your own gives you space to customize blocks however you like.
If you’re not comfortable doing woodwork, you can create blocks with cardboard or foam sheets. Measure and cut your blocks carefully to get smooth and flat surfaces.
The best part about making blocks is the decoration. After you have finished a few blocks of preferred sizes, get to work customizing with toxic-free paint, markers or even stickers.
Since blocks serve an educational purpose, you can make it more complex and engaging for your toddler by including patterns or designs that add a degree of complexity.
When you get the hang of it, try going for different shapes and sizes. Blocks are fun, but there’s so many ways to make it more interesting for your toddler, such as introducing triangles and rectangles. With different blocks, you can introduce complex activities.
Don’t forget to encourage your toddler to explore the blocks. Give them enough freedom to play and interact with the blocks in whatever way they prefer, but don’t forget that you can create challenges for them to overcome, such as instructing them to build a tower.
Making blocks is a piece of cake. Unless you’re going for wooden blocks, you won’t break a sweat. The benefits of block play are many, including hand-eye coordination, fine motor control and the development of spatial awareness. So, get to crafting!
2. Pom-pom sorting
For a 1 year old and a 2 year old child, pom-pom sorting is a fun, exploratory game. It covers many areas of your child’s development, including fine motor skills, hand-eye coordination and color recognition abilities, making it a great DIY Montessori toy.
It’s really simple to make. Start by buying pom-poms in different colors. You can get them practically at every craft store. If for some reason you just can’t find them anywhere, or if you’re too lazy to go looking – that’s okay – because you can make your own with yarn.
When you have your different-colored pom-poms at the ready, the next thing you’re going to need is a sorting container. Make sure not to skip decorating it with different colors and patterns. Your child needs clear indication as to where pom-poms have to be sorted.
During play, encourage your child to explore the various ways by which they can store pom-poms in their respective parts of the container. For example, you can challenge them to try sorting the pom-poms not by color, but by size. You can then move on to textures.
Pom-pom sorting is one of the easier DIY Montessori projects that you can do at home. Even if your child is above 2 years of age, pom-pom sorting can be taken to another level with more complicated sorting patterns and made engaging for 3 year olds and above.
3. Sensory bins
Many Montessori-inspired toys and activities focus on developing sensory awareness.
Why? Well, at the very heart of the Montessori parenting guide, sensory play is perfectly aligned with the idea of learning through experience and exploration. Sensory play stimulates curiosity and allows young children to hone their problem-solving skills.
Sensory bins offer a great developmental activity for toddlers. So, what exactly do you need? Well, you’re going to need a large container and sensory materials. What kind? That’s up to you. You can go for beans, rice, sand or any kind of safe objects you want.
We advise picking objects with your child’s interests and abilities in mind.
Mix it up. Include different colors and textures. Ideally, you want to create a visually striking environment that oozes interactivity and easily captures your child’s attention.
With sensory bins, you can encourage exploration in a variety of ways. Toddlers can interact with the objects inside not only with their hands, but with tools you provide for them. For example, if you’re using sand, your toddler can use a spoon or a shovel toy.
Sensory bins aren’t difficult to make. Most of your time will be spent choosing the ideal objects and introducing variety. However, with a little bit of imagination and creativity, you ensure hours and hours of educational and engaging interactivity for your child.
4. Color sorting
Introduce your toddler to the world of colors with color sorting.
First, you have to select small objects in different colors. You will also require containers in corresponding colors. We advise smaller objects to make the game more accessible.
What kind of colors should you use? Maybe it’s best to start with the primary colors, which are red, blue and yellow, and then work your way up by introducing new colors.
Ensure that you have enough objects to fill up the containers. If you want to make it easier and more visually optimized for your child, you can create labels. Stick them on the containers in order to help your child better navigate the activity of color sorting.
In a Montessori classroom, color sorting has many benefits, including developing sensory awareness as well as improving fine motor skills. However, as your toddler progresses, you want to include additional challenges in order to keep the activity interesting.
Color sorting is one of the best toys for 1 years old and above, since it gains extra layers of complexity as you add new challenges for your little one to overcome. Plus, it’s very cost-effective and easy to make. All you need is but a handful of objects and containers.
5. Peek-a-boo sensory board
Now, if you want to get bit more creative, then the peek-a-boo sensory board is the way to go. Making one is going to be a little more difficult – but far from impossible. It depends how creative you want to get. In fact, all it takes is a little bit more of your time.
So, what’s the peek-a-boo sensory board, exactly? The exploration board is basically a wooden board onto which you glue various items. When choosing objects to glue onto the wooden board, you have to select items and objects safe for your kid to handle.
There’s many ways to create a peek-a-boo sensory board, but it’s usually done by using diaper wipe lids to house the materials. Basically, you first glue textures onto the wooden board, after which you cover the textures with diaper wipe lids, effectively hiding them.
When you’re finished, give the sensory board to your toddler and let them explore. This game stimulates their creativity as they go from lid to lid, discovering textures within.
6. Treasure basket
A treasure basket is simple DIY Montessori project that helps children develop their sense of exploration. Making one is easy, but you can always take things to another level by getting creative and personalizing the treasure basket and making it truly unique.
In order to create your own treasure basket at home, all you need is a woven basket and a selection of various objects and textures safe for your toddler. Yes, you can use a box if you don’t have a woven basket, but a woven basket provides easy access and portability.
Start by gathering items and objects. What do you want to include? You can include a variety of objects, such as leaves, fabrics, toys – basically anything that you can think of so long as it’s safe for your child to handle. Then, you arrange them inside the basket.
Depending on your preference, you can arrange the items randomly or follow some sort of pattern. Either way, your child is probably going to make a mess out of them, anyway.
When you give the treasure basket to your child, encourage them to explore the objects you have carefully selected for them to interact with. Tell them to use their senses, to truly feel and experience the various textures, shapes and sizes of all the objects inside.
Bear in mind that a treasure basket, while fun, can get boring if your child has already gotten to know all the objects. So, do well to periodically switch out the objects and to introduce variety, so that your baby can keep interacting with new items and textures.
All in all, a treasure basket is one of the best Montessori DIY toys that focuses on sensory play. Not to mention that it cultivates your little one’s curiosity and sense of wonder.
7. Ribbon pull toy
A simple, fun and interactive game, the ribbon pull toy develops fine motor skills, hand-eye coordination and a deeper understanding of cause and effect. Observing the ribbons move in response to their actions teaches valuable lessons and improves their focus.
Since there’s many ways to craft it from scratch, it’s difficult to tell which way might be the best for you. Consider the tools and materials you have at your disposal. Ribbons are essential, but do you have a cardboard box, a sort of tube, anything to poke holes into?
Essentially, you’re going to poke holes so as to pull the ribbons through them. You’re also going to tie knots on the other end to make sure that your child can’t completely pull them out. Instead, they can keep pulling different ribbons as they develop fine motor skills.
Ensure that the ribbons are firmly attached and ready to handle.
With fifteen minutes and a guide, you can create your own ribbon pull toy in the warmth and comfort of your home and introduce another Montessori activity to your routine.
8. Music basket
With a music basket you can cultivate your child’s perception of sounds and instruments, as well as improve their musical skills. This one’s easy to make. All you need is a basket and age-appropriate musical instruments to fill it up for your little one to explore.
Include an impressive variety of musical baby toys and instruments, such as shakers, bells, xylophones, keyboards – anything that comes to mind. If you don’t have any instruments nearby, create something! There’s a lot of DIY guides for easy musical toys.
When you have your instruments ready, place them in the basket. Then, invite your child to explore the musical wonderland you have created for them and to experiment with different instruments and sound, all of which develops a lifelong passion for music.
Not only that, a music basket improves your baby’s musical skills and their understanding of rhythm. The best part is that you can play music alongside your child and have a blast.
9. Light box
By making a light box, you create a unique tool for light and shadow exploration. Even though it may sound a bit complex at first, making one is rather simple. All you need is a cardboard box, transparent plastic sheets and small lights for your own lightshow.
In order to create a light box, start by cutting a hole in the top of the cardboard box. Ensure that the hole is just a little bit larger than your lights. Then, cover the hole with transparent plastic sheets and glue them in place. Finish by placing the lights inside.
Dim the lights in the room and switch on the light box. The light shines through the holes you have created in the top of the box. Enjoy the dance of light and shadow that ensues.
In Conclusion
If you have chosen to practice the Montessori method at home, then you’re going to need toys, and what better way to give your child the best opportunities to grow than to give them personalized toys that you’ve made yourself with their interests and needs in mind?
Our selection of Montessori DIY toy ideas covers hands-on learning, sensory play and exploration. Whichever you choose, you are improving your child’s fine motor skills, enhancing their decision-making and problem-solving, and inspiring their creativity.
From block play to light boxes, the educational possibilities of the ideas provided above are practically endless. By making these toys yourself, you get to customize them how you want. Besides, you can ensure that your child gets to enjoy toxic-free toys and activities.
So, don’t be afraid to roll up your sleeves and try your hand at a little bit of DIY.
You might surprise yourself by how easy it is and what you can accomplish.

Mother of three and a primary school teacher. I’ve always loved being around children and helping them, so I chose my path as a teacher. It is sometimes hectic with three children, but I am 100 percent into it and wouldn’t change it for anything in the world.